
How to Compost Year-Round
This week we discuss local composting centers, how to compost at home, and the Westmoreland composting program.
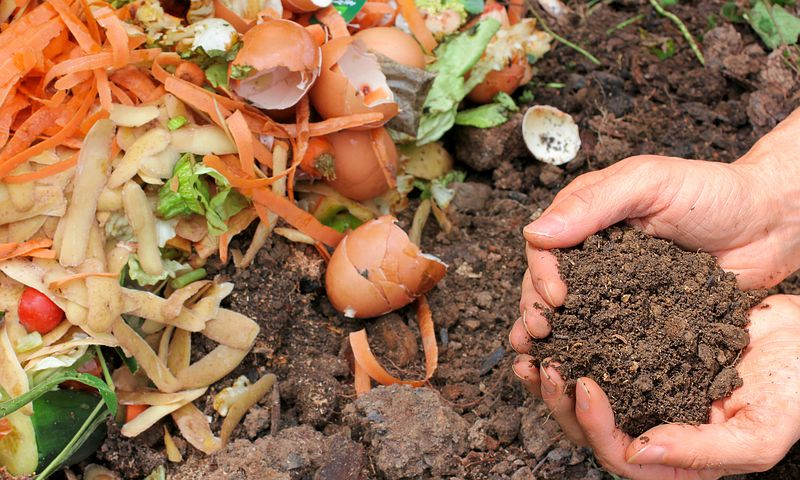
1) What is Compost?
The process of composting involves obtaining and collecting food scraps to turn into natural, healthy fertilizer or soil. This process is lengthy and rewarding, and it's a fantastic, organic way to fertilize your house plants, your flower gardens, your grass lawns, and more.
Making compost is more than throwing your food scraps in a pile in your backyard, but not much more. Read on to learn about just how easy it is to make your own compost, and services who will recycle your food scraps so you don't have to.
2) Westchester Local Composting Centers
The Public Option: The Residential Food Scrap Transportation and Disposal Program (RFSTAD). This program, initiated in 2020 by Westchester's CompostED program, was designed to assist municipalities in the reduction of the monetary cost of food scrap recycling. Under RFSTAD, Westchester residents may be able to dispose of their food scraps via curbside pickup for the same price, or less, than their normal trash collection. For more information about your town's participation in RFSTAD, click HERE.
The Private Option: Private composting organizations. If the RFSTAD does not offer curbside pickup in your area, or seems costly, look into private composting organizations who service your area. Some offer curbside pickup, and others offer stations for compost drop off. For example, Curbside Compost services Mount Kisco and will collect your food scraps weekly (just like trash collection) for $32 a month, or $352 a year.
Click HERE for a list of public and private ways to compost.
3) At-home Composting
Composting for Public or Private Services:
If you're utilizing a compost service, it's important to understand the restrictions your service has on the food scraps they collect. Please contact your composting service before any food scraps are exchanged.
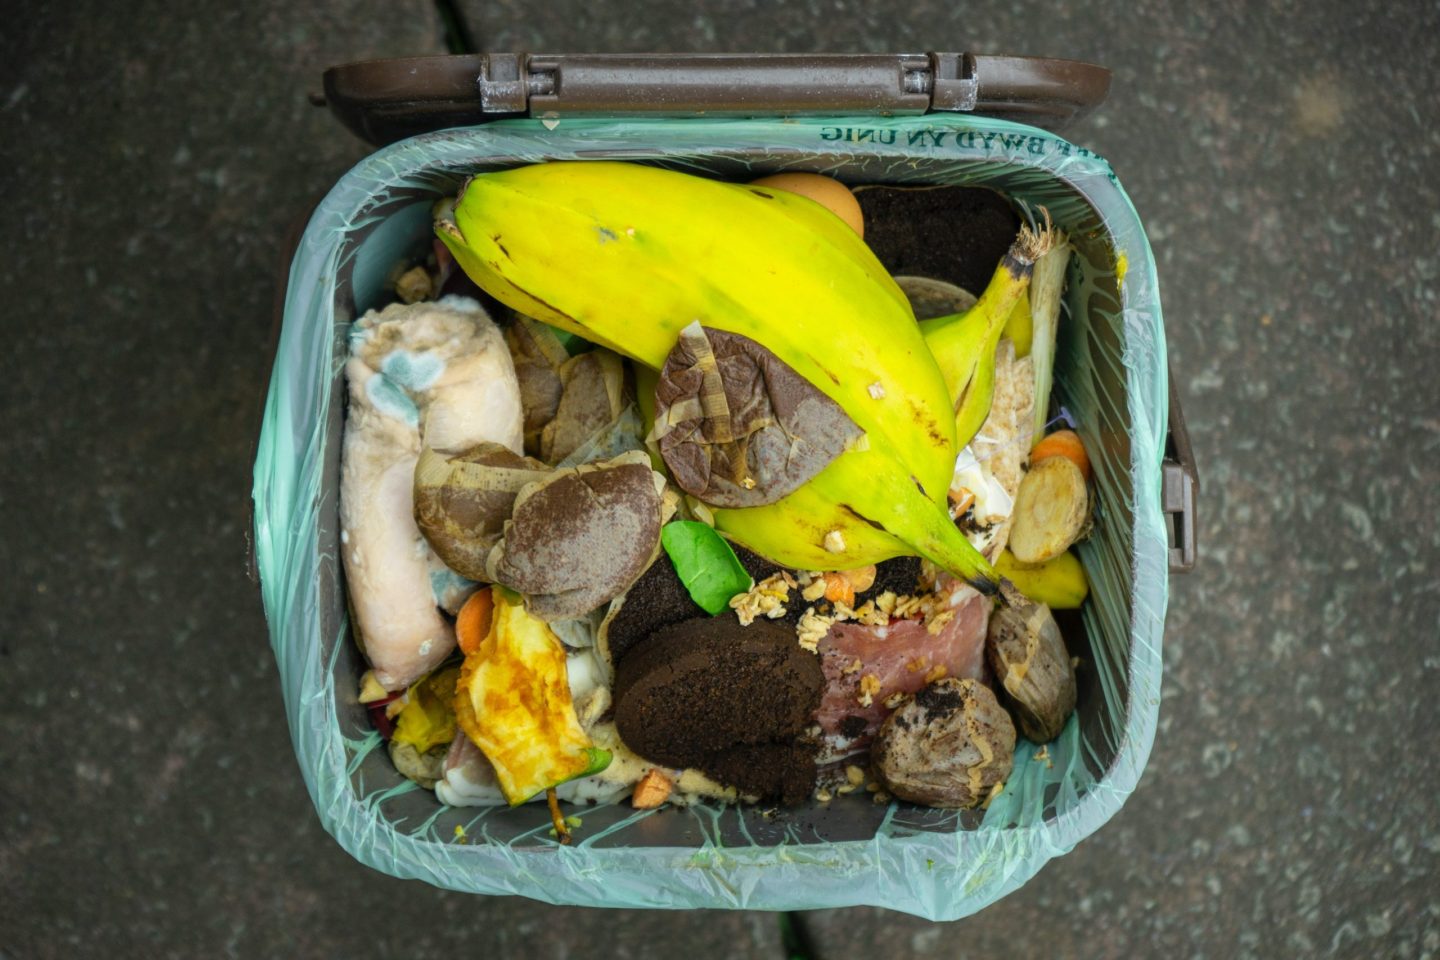
Storing your compost: keeping an indoor compost bin in your kitchen for daily use, and transferring the scraps daily to an outdoor bin is a method I have found works great. This helps deter any unwanted food scrap odors in your kitchen. There are composting bins great for outdoors, with sealable and lockable lids to deter animals.
Composting At Home:
Step one: location. Designate a place in your yard for your compost pile, being sure to avoid tons of direct sunlight, wind deterrents (buildings), and direct additives (falling leaves from trees).
Step two: build the pile. Beginning with 6-8 inches of browns, and add greens in a thin layer (not in piles). Add water as necessary to keep the pile moist. Layer browns with greens in this way, being sure to avoid too many food scraps which will weigh down your compost pile. The more greens you put in, the less water you'll need to add.
- Composting ingredients:
- Browns (dead leaves, dried grass clippings, dead branches, wood chips, saw dust, straw, black and white shredded newspaper, cardboard, etc.)
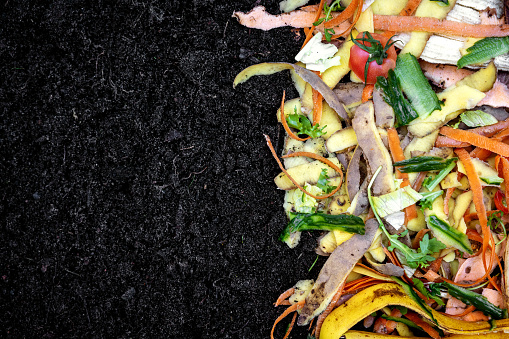
- Greens (fresh, untreated grass clippings, fresh leaves, kitchen scraps (crushed eggshells, old bread, vegetable and fruit scraps, coffee grounds), etc.)
- Water
- Maintaining a ratio:
- Browns will cause your compost pile to cool, but is more aesthetically pleasing and reduces odors.
- Your compost pile should be cooking. That's right, HOT! As the material decays, it will release heat. If you compost pile is not hot, your ratio is off and you should try adding more greens.
- Moist, but not soggy, is the texture you're aiming for with your compost pile.
Step three: aeration. If you choose a compost tumbler, turn it every 3-4 days. If your compost is in a pile, mix and turn the pile every 3-7 days. Be sure to aerate the compost frequently in the beginning stages. Aeration assists in faster decomposition (more aeration equals a hotter compost pile, meaning you can add to the pile more frequently).
Step four: seasons.
- Winter: your compost pile may get so cold that it freezes. That's okay! It will heat up again in the spring, but as the outside temperatures get colder, decomposition in your pile may slow or even stop. During this time, you should not over-add to your compost pile (it will only attract animals).
- Spring: be sure to turn your pile soon after it thaws to assist the decomposition of your over-wintered compost pile. If your pile is wet, try adding browns. If your pile is taking a long time to heat up, add some greens!
- Summer: the hot air will assist in high decomposition rates, so you may need to turn and add to your pile more frequently.
Tips:
- Autumn is the best time to start composting because it's easier to maintain a proper ratio of greens to browns when the trees drop their leaves.
- The smaller size the material you add to your pile, the quicker it will decompose.
- Do NOT compost: dairy products (butter, milk, sour cream, yogurt, and eggs), fats, grease, lard, oils, meat or fish bones, and grass clippings fertilized by unnatural products.
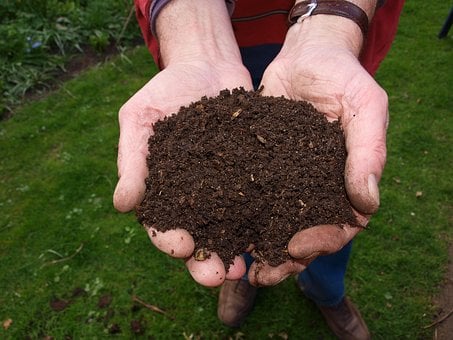
Your compost pile is ready to be used as fertilizer when the material has a crumbly texture and rich, earthy smell which occurs about 45 days after your last addition of browns or greens.
4) Westmoreland's Composting Program
Program participants will be taught by a Westmoreland Naturalist to understand what compost is, and why it is important to reduce their waste through composting and recycling. Interacting with Westmoreland's outdoor compost bins will provide a first hand experience on how to properly compost at home.
Participants may investigate earthworms and discuss their role as decomposers in the compost process. For more information on this program, please contact us at (914) 666-8448 or by emailing us at info@westmorelandsanctuary.org. This program is customizable and allows participants to chose the day of the program and the number of program participants.